-
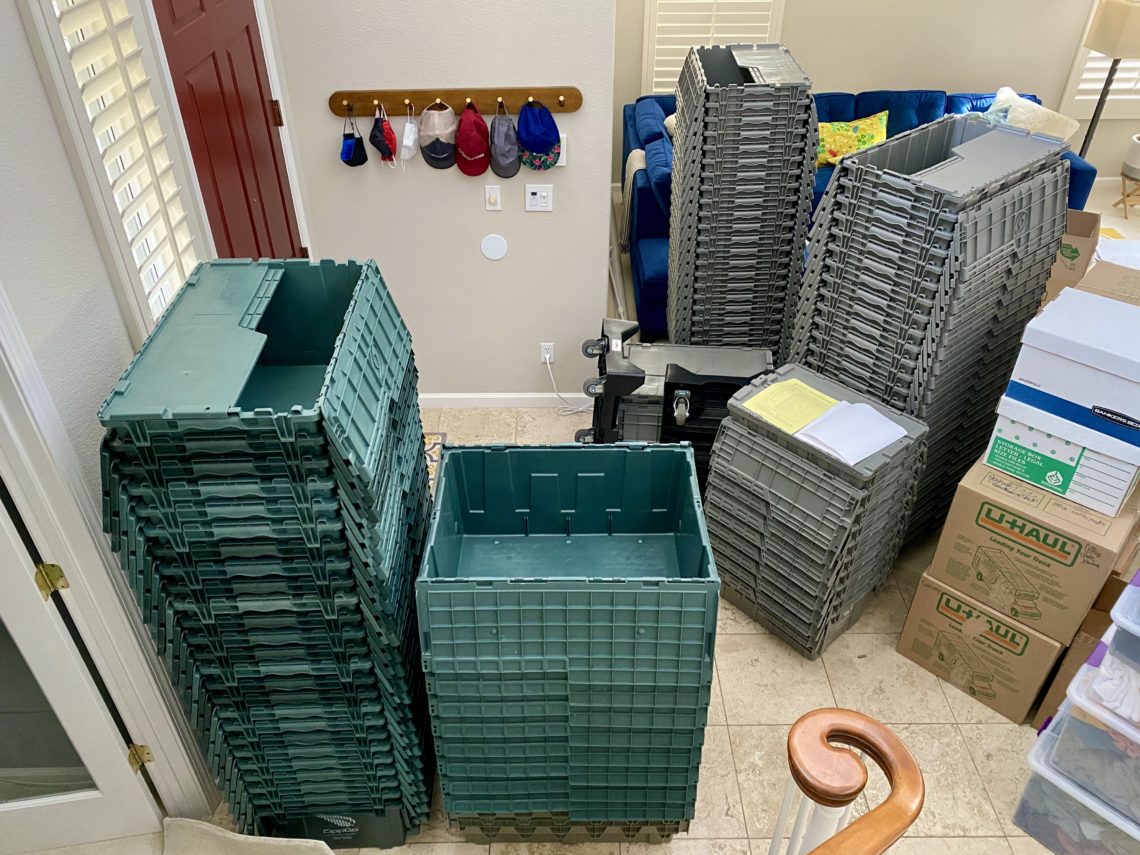
Move Over Cardboard, Plastic Moving Bin Rentals Are Where It’s At.
Chalk us up as one of the more than seven million American households to move to another county during the pandemic. Considering how quickly our home purchase transaction took place, combined with how quickly we wanted to get our current home on the market to sell, we basically left ourselves less than two weeks to pack up and move out of our old place. Without a doubt, renting these sturdy, stackable, and generously-sized 100% recycled plastic bins from ZippGo helped ease our packing efforts and speed the process along. We went with ZippGo and their 5 Bedroom package, which gets you 100 boxes in a variety of sizes (80 large,…
-
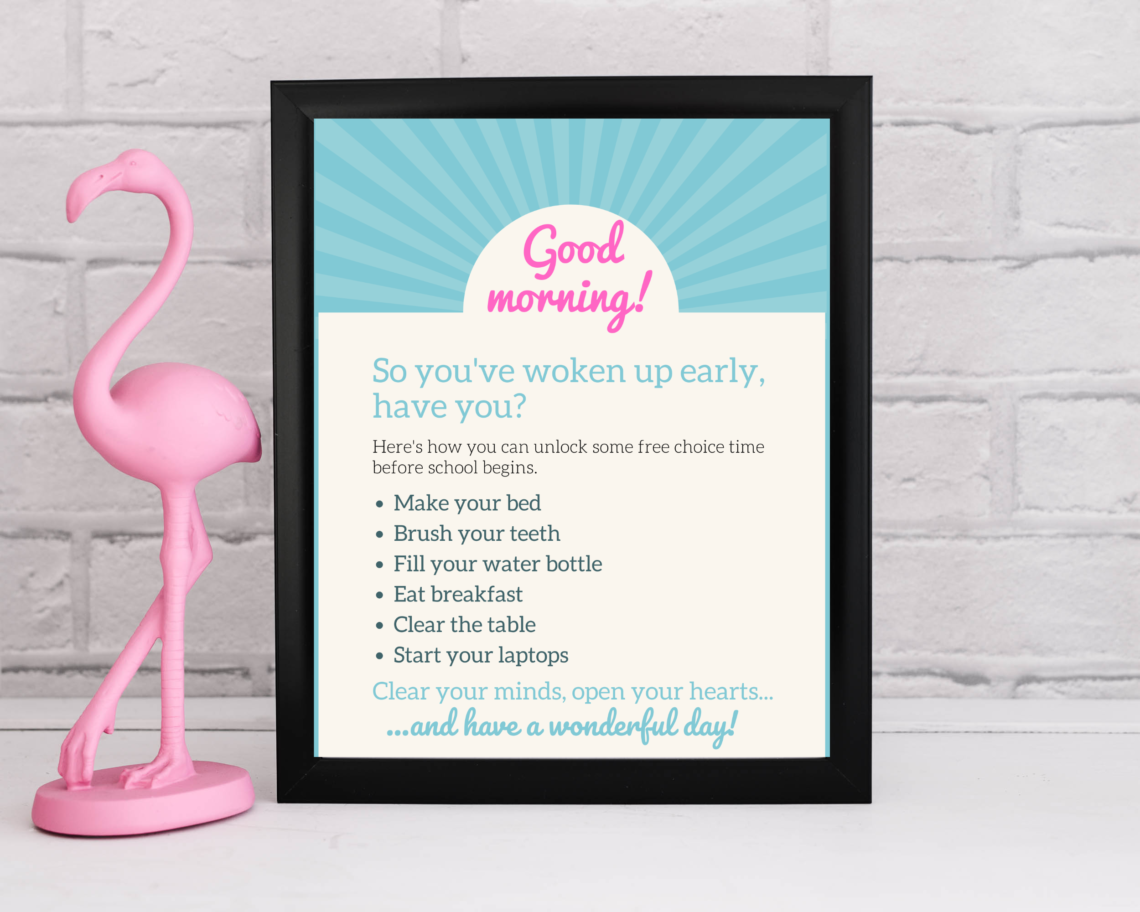
Use This Simple Tool to Rein In Your Kids’ Screen Time
These days, the kids are up way before mommy is. And with the inordinate amount of screen time allowed them this past pandemic year, one of their newly developed bad habits (like ours) is to grab a device and just start playing/watching before they even roll out of bed. Even on school mornings! I realized as I walked into the kitchen this morning and they each had a Tamagotchi in one hand and one of our iPads in the other that some boundary-setting was in order. And where do I turn to when that’s the case? Canva, of course! Cue a big fat eye roll from daddy. But seriously, charts…
-
A Quick and Easy Trick to Save on A/C Costs This Summer
We actually implemented this simple, low-cost solution to keep the cold out this past winter, and I was surprised how much of a difference it made in the temperature of our coldest rooms. We were able to reduce our heater usage by a significant amount and didn’t have to invest in anything expensive or permanent. I thought I’d be removing our temporary window coverings when the weather warmed up, but it turns out that the same solution works for keeping the heat out and cooling down a room during the warmer months as well! What can you do to keep the blazing sun from creating stifling heat in your bedroom…
-
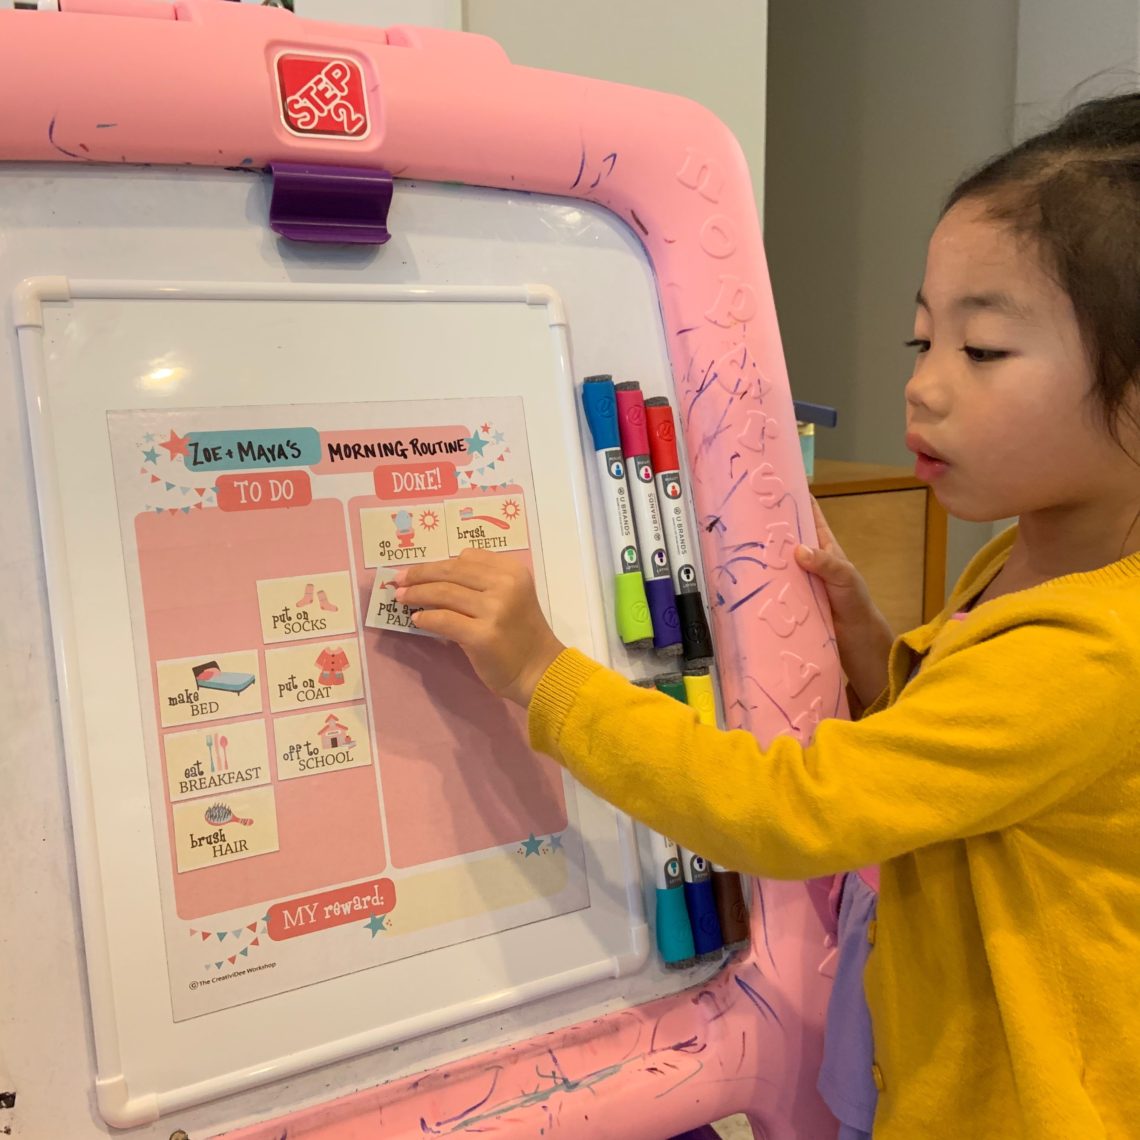
This Magnetic Routine Chart Will Make You a Little Less Insane
Science tells us that having a daily routine can have big benefits for families with young kids, both for parents and their kids alike. And while “formalizing” a routine may seem like a lot of work, wouldn’t it be worth it if it would just help cut down on the amount of times you had to repeat yourself over the course of a day? “Brush your teeth. Have you brushed your teeth? Why haven’t you brushed your teeth yet? Brush. Your. Teeth. NOW!” If that sounds familiar, this routine chart method may be just the thing for you. Here’s what I used to make this magic happen: Routine cards (I…